A Comprehensive Step-by-Step Guide to DIY Bathroom Remodel

Introduction to DIY Bathroom Remodel
Taking on a DIY bathroom remodel can be a daunting task. Still, it’s an incredible opportunity to flex your creative muscles, improve your home, and increase its overall value. There’s something exceptionally rewarding about seeing the transformation from outdated to fabulous that you’ve accomplished with your own two hands.
Importance of Remodeling a Bathroom
Remodeling a bathroom isn’t just about aesthetics. It’s about creating a space tailored to your needs that ensures comfort and functionality. Things such as improving the lighting, adding more storage, or expanding the space can significantly boost your home’s appeal.
Benefits of Doing It Yourself
• Cost savings: DIY allows you to save on labor costs, making the process more budget-friendly.
• Creativity: You have the freedom to decide exactly how you want the end product to resemble.
• Satisfaction: The sense of accomplishment after finishing your own project is immeasurable.
• Skills building: Sharpen your skills and take on more complex projects in the future.
Planning Your DIY Bathroom Remodel
The first step in any DIY bathroom remodel is proper planning. And, oh boy, there’s a lot of it! But don’t worry, we’ll demystify the process and turn it into a fun and engaging activity.
Assessing Your Needs and Setting Goals
First off, determine what exactly needs to change in your bathroom. Are you looking for more space, updated fixtures, or a completely new look? Jot down your must-haves, nice-to-haves, and dream features for your dream bathroom. This step makes it a lot easier to pinpoint your budget, choose designs, and prioritize tasks.
Creating a Budget and Timeline
Next up, it’s time to take a good look at your finances. Decide what you’re willing and able to spend on your bathroom remodel. Don’t forget to set aside a contingency (approximately 10-20%) for unexpected costs. Once you have a detailed budget, design a timeline. Consider your personal schedule, the complexity of your remodel, and any potential disruptions.
Researching Bathroom Renovation Ideas and Inspiration
Now onto the fun bit! Spend some time exploring different bathroom renovation ideas. Pinterest, home magazines and renovation blogs are all excellent sources of inspiration. This research not only gives you fantastic “bathroom makeover” ideas but also helps you gauge the cost and feasibility of your chosen designs. Remember, your bathroom should bring you joy every time you use it, so make it uniquely yours!
Gathering Tools and Materials
Essential Tools for a Bathroom Remodel
A successful bathroom remodel is dependent on having the right tools. Some of these essential pieces of equipment include a drill, claw hammer, level and trowel for spread tasks. Additionally, a set of screwdrivers, pliers, a pipe wrench and a reciprocating saw might come in handy for complex tasks. Don’t forget your safety gear – goggles, gloves and a sturdy pair of boots are also crucial!
Materials Needed for Various Aspects of the Remodel
When it comes to materials, your needs will depend on the scale and scope of your remodel. For the flooring, tiles are a popular choice that offers a wide range of aesthetic options. This also applies to wall tiles if you’re looking to revamp your shower area. Lighting is key in setting the ambience, so consider the different types available – recessed, vanity, or wall lights. Fixtures such as faucets, sinks, and showerheads are also important consideration in your bathroom makeover. Always take the time to research the best materials for each part of the renovation to ensure a high-quality finish!
Preparing for the DIY Bathroom Remodel
So, you’ve decided to take the plunge and remodel your bathroom. Good for you! Before we get hammering, let’s lay the groundwork first.
Clearing out the Bathroom and Protecting Surrounding Areas
Begin by clearing out your bathroom. Remove all toiletries, towels, mats, curtains, and decorations. Unplug and remove any electrical appliances. Once your bathroom looks like it’s just stepped out of a furniture showroom, you can focus on protecting the surrounding areas. You’ll want to:- Cover nearby carpets or floors with protective sheeting.
– Use masking tape and sheets to protect surrounding walls and fixtures you’re not working on.
Removing Existing Fixtures, Tiles, and Flooring
Now you’re onto the “tearing apart” phase. Carefully remove any fixtures you plan to replace – like your sinks, toilets, or showerheads. Next, tackle the tilework and flooring. I recommend starting from the top and systematically working your way down to the floor.
Addressing Any Necessary Repairs or Updates to Plumbing/Electrical Systems
Before you start beautifying the space, take some time to inspect your plumbing and electrical systems. This might involve checking for leaks, testing your water pressure, and making sure your electrical outlets are up to code. Then, carry out any necessary repairs or updates. Oh, and remember, safety first! If there are significant changes needed to the plumbing or electrical systems, consider hiring a professional. Your DIY project needs you, safe and sound! This is a great first step in your bathroom remodeling process. Let’s keep that momentum going!
Designing Your New Bathroom
Designing your bathroom involves breathing life into your imagination and realizing your dream space. It’s the preliminary step that sets the stage for a successful remodel.
Choosing a Design Style and Color Scheme
Deciding on a design style for your bathroom remodel is a personal endeavor. You may be inspired by the modern, minimalist Scandinavian design or fall in love with the eclectic Bohemian style. Once you find your style, pick a fitting color scheme. Decide whether you want warm or cool tones, neutral or bold colors. You could draw color ideas from a tile, a piece of art, or the overall theme of your house.
Selecting Fixtures, Tiles, and Flooring to Match Your Vision
Next, it’s time to select the fixtures, tiles, and flooring to match your chosen design style and color scheme. You want your bathtub, sink, toilet, and shower to complement the overall aesthetic. Meanwhile, your tiles and floors shouldn’t just be functional—they should enhance the space’s visual appeal.- You might select trendy subway tiles or opt for natural stone tiles depending on your design style.
– For flooring, consider durable and water-resistant options like ceramic, porcelain, or stone tiles.
Considering Space-Saving and Organizational Features
Lastly, even the most luxurious bathroom must be practical. Clever space-saving and organizational solutions can maximize your space and keep your bathroom clutter-free.- If your bathroom is small, you might consider floating units to create the illusion of space.
– Built-in shelves or niched walls can provide extra storage while maintaining a streamlined appeal. Designing a bathroom is akin to painting a picture. You must balance imagination with practicality to create a functional, beautiful space. Start with a clear design in mind, and don’t be afraid to infuse your personality into the space—it’s your bathroom after all!
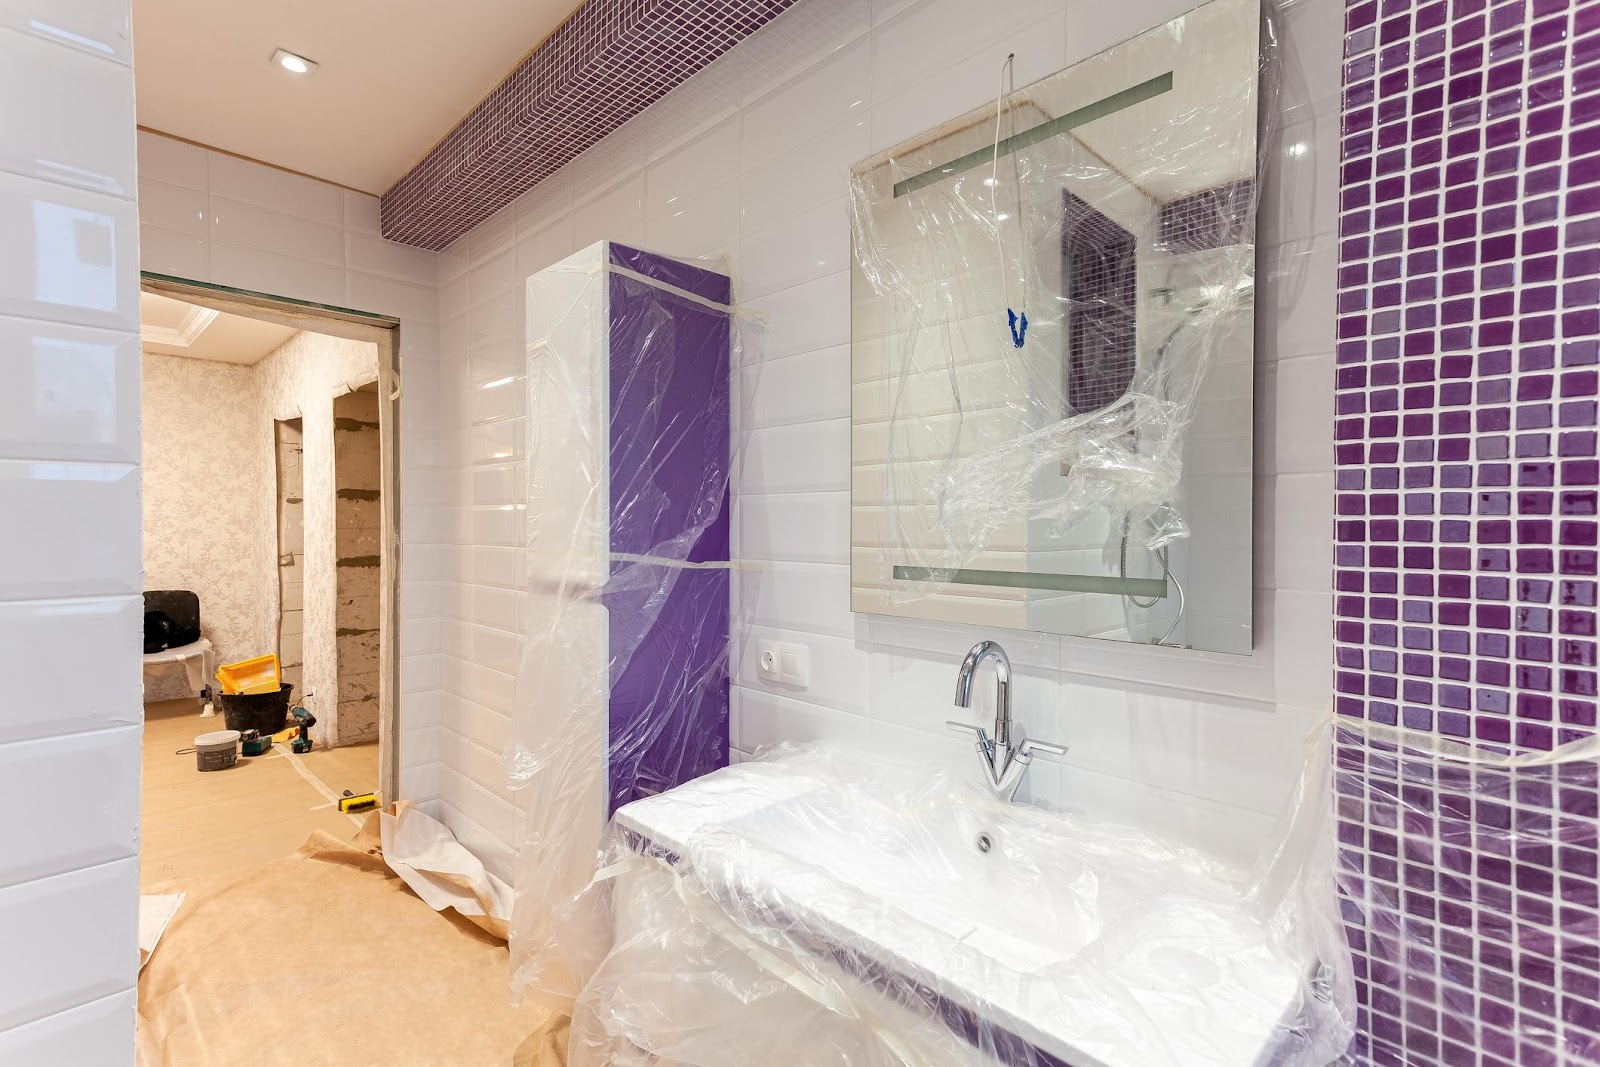
Installing New Fixtures and Hardware
When it comes to a complete bathroom transformation, replacing your old fixtures and hardware with the new ones is an essential step. The choice of fixtures not only offers a new look but adds functionality to your bathroom. With the right equipment and tools, installing new fixtures like a bathtub/shower, vanity, sink, toilet, and lighting fixtures can be a breeze.
Step-by-step guide to installing a new bathtub/shower
Embarking on a bathtub/shower installation might seem quite challenging, but it is entirely doable. First, ensure you have the right measurements for your tub/shower before purchasing. Disconnect and remove the old bathtub, prepare the area, position the new bathtub/shower and attach it using the manufacturer’s instructions.
Installing a new vanity/sink and toilet
Freshening up your bathroom with a new vanity and sink is pretty straightforward. After removing the old sink and vanity, position the new one in place, ensure it’s level, and then attach it. When it comes to the toilet, remove the old one carefully to avoid damage, prepare the area, situate the new toilet and connect it firmly and securely.
Adding new lighting fixtures and bathroom accessories
Lighting plays a crucial part in enhancing the aesthetics of your bathroom. Opt for LED fixtures for energy efficiency, and don’t forget about the exhaust fan. Don’t overlook the small accessories like towel bars and racks, toilet paper holders, and soap dispensers – they add the final touch! Most come with easy installation guides so you can DIY with confidence.
Installing New Flooring and Tiles
Into your bathroom remodel journey, nothing quite changes up the look as accommodating a new floor. This process involves tearing up the old tiles, preparing your base (the subfloor), laying your new choice of tiles, and then finalising it with a good seal.
Removing old flooring and prepping the subfloor
Start with getting rid of the outdated flooring. Use a pry bar or a hammer to carefully lift and remove the old tiles. Then, clean thoroughly and check the subfloor for any damage. If it’s plywood, ensure it’s safe from water damage and sturdy. If it isn’t, replace it. For concrete, fill in any cracks or uneven surfaces.
Laying new tiles or installing new flooring materials
Now it’s time for the fun part – installing your new tiles or flooring! There are so many choices available, from ceramic tiles, vinyl, laminate, or even heated flooring. Follow the manufacturer’s instructions to properly lay them down. Some useful tips here are:
• Start from the middle and work your way out
• Use tile spacers for even placement
• Apply adhesive properly, don’t overload
Sealing and finishing the new bathroom floor
Finally, apply a sealant to protect your new flooring. This step is especially crucial if you used grout. Let the sealant dry as per the recommended time, apply a second coat if necessary. Congratulations, you’ve completely transformed your bathroom floor!
Painting and Wallpapering
One of the most enjoyable parts of a bathroom remodel is expressing your personal style through the painting and wallpapering process. It’s time to choose colors and patterns that truly reflect your personality and taste!
Choosing Paint Colors and Wallpaper Patterns
Before you begin, it’s important to carefully consider the color and pattern choices. Pale blues and greens often give off a calming vibe, while more vibrant hues like red or yellow can add a lively touch.
• Think about the rest of your home’s color scheme. Your bathroom should compliment those colors for a cohesive look.
• Factor in the available light. Darker shades will make a small bathroom feel smaller and vice versa.
Prepping the Walls and Applying Primer
Before you can get started with applying fresh paint or wallpaper, your walls need to be prepped. Scrub, patch up any noticeable dents or holes, and ensure the walls are smooth. Body works, like making ready for a date! Afterwards, apply a suitable primer.
Step-by-Step Guide to Painting and Wallpapering the Bathroom
Now to the juicy part! Start by masking off areas you don’t want painted and apply a paint layer evenly. Wallpaper might seem daunting but with patience and guidance, you’ll get a hanging of it in no time. Be sure to smooth out any bubbles or wrinkles to achieve that professional look. Follow the saying, “measure twice and cut once” when you’re setting your wallpaper piece. Transform your bathroom into a space that truly feels like you now and enjoy every step of this artful journey!
Finishing Touches and Organization
Bringing a bathroom remodel together involves more than just picking out tiles and fixtures. It’s also about adding those all-important finishing touches that can turn a simple bathroom into a spa-like retreat.
Installing Shelving, Towel Racks, and Hooks
To start, consider how you’re going to store your towels, toiletries, and other bathroom necessities. You might want to install floating shelves for a sleek, modern look, or go with a traditional cabinet for a more classic feel. Additionally, don’t forget about towel racks and hooks, essential for keeping your bathroom organized and free from clutter.
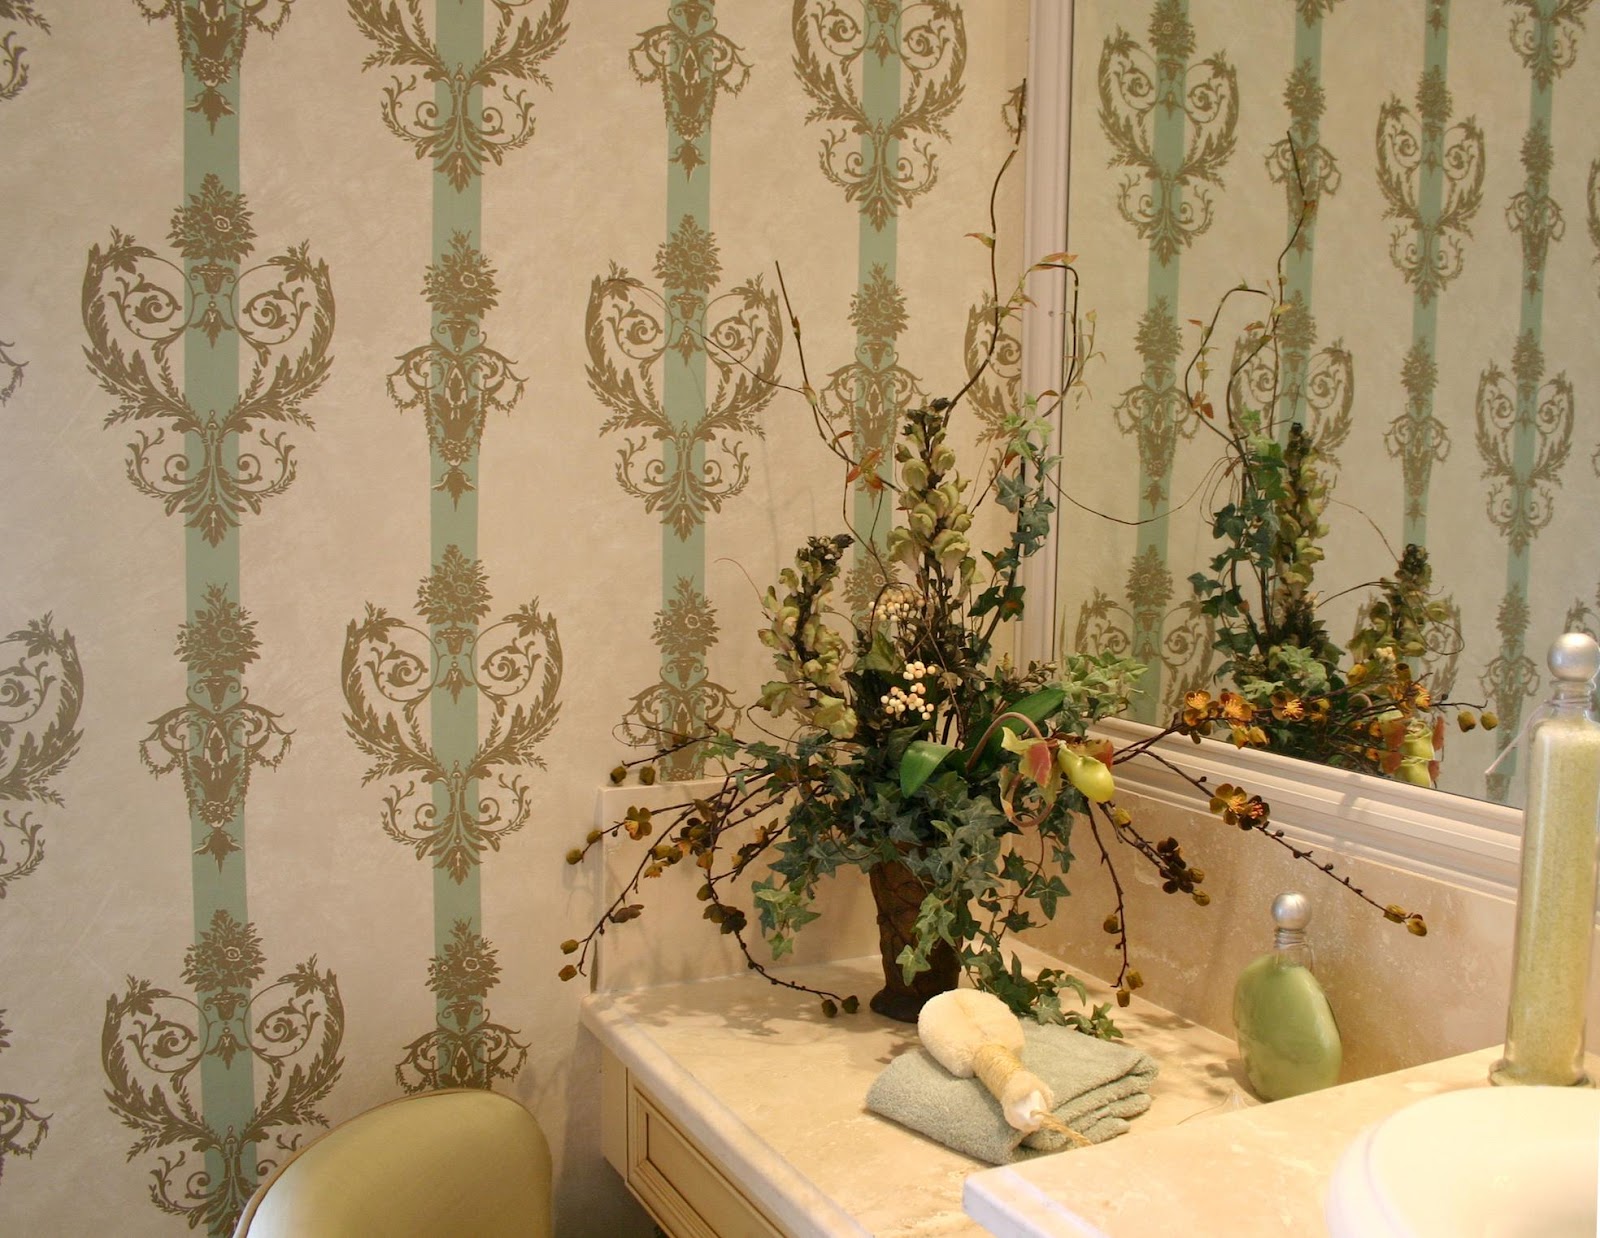
Adding Decorative Elements and Artwork
Next, think about adding some personality to your space with decorative elements and artwork. A beautiful framed picture, a fancy mirror, or a handful of well-placed trinkets can go a long way in making your bathroom feel more like home.
Organizing Bathroom Essentials for a Clutter-Free Space
Finally, organize your bathroom essentials in a way that’s functional and aesthetically pleasing. Consider baskets for rolled-up towels, a beautiful glass jar for cotton balls, and maybe even a small plant for a bit of greenery. Remember, the goal is to keep your space clutter-free, peaceful, and inviting. 1. If you have a lot of items, consider using drawer organizers or compartmentalized storage solutions.
2. Use clear storage for things you use regularly so you can see what’s inside.
3. Don’t be afraid to declutter and get rid of items that you don’t use or need. When it comes to a bathroom remodel, be sure to take time with the finishing touches. They truly make the space yours.
Cleaning Up and Final Inspections
After completing the DIY bathroom remodel, it’s time to tidy up your workspace and conduct final inspections. Let’s break down this process into more detailed steps.
Thoroughly Cleaning the Bathroom After the Remodel
A thorough clean-up post-remodel is a must. First of all, sweep up any dust and debris that might have accumulated during the renovation process. This includes removing any protective coverings you may have put down on the floor, as well as any leftover materials you won’t be using. Then, wipe down all surfaces, including your new fixtures, with a damp cloth. Make sure to clean the mirrors and windows too!
Checking for Any Finishing Touches or Adjustments Needed
Take a moment to examine your bathroom carefully. Look for any minor details that need attention, like touching up paint, tightening a loose towel rack, or adjusting the mirror position. These few little changes can make all the difference!
Conducting Final Inspections to Ensure a Successful DIY Bathroom Remodel
Now it’s time for the final inspection. Go over your bathroom one more time; check the plumbing — does the toilet flush properly? Is the sink and tub draining as they should be? Turn on all lights and fans and test the outlets. By checking every aspect of your remodel, you can ensure a successful DIY bathroom renovation. A job well done!
Conclusion
We’ve come to the close of our comprehensive guide to DIY bathroom remodel, and we’re pretty excited to see what you can achieve with all this newly acquired knowledge.
Recap of the DIY bathroom remodel process
Backtracking slightly, we’ve covered:
– Planning and budgeting for your bathroom remodel
– Designing the perfect bathroom layout
– Choosing the right fixtures and finishes
– Tackling the tiling, painting, and plumbing works
– All the necessary inspections Each aspect of the remodel process is crucial and dependent on each other to create your dream bathroom.
Encouragement for readers to embark on their own bathroom renovation journey
While it may feel overwhelming at times, remember remodeling your bathroom doesn’t just improve its appearance, but it significantly enhances the value of your home. It may not be easy, and yes, it may test your patience, but the sense of accomplishment you’ll have at the end will be absolutely worth it. So go ahead and start planning your bathroom renovation. We’re right behind you cheering you on!
Professional stock photos provided Dreamstime.com