6 Key Tips for Selling 3D Printed Items
Whether you’re a hobbyist or a professional, selling 3D-printed items can be a great way to make some extra money.
But if you want to be successful, there are a few things you need to know. In this blog post, we’ll share our top tips for selling 3D-printed items.
So whether you’re just getting started or you’re looking to improve your sales process, read on for helpful advice.
- Clean your 3D Printer
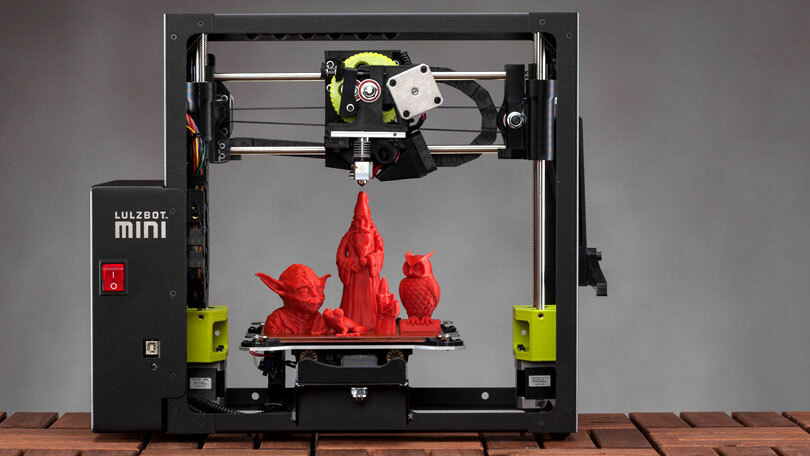
3D printing is an amazing technology that is quickly changing the way we think about manufacturing. However, for perfect prints, it is vital to keep all parts clean and debris-free. This includes the 3D printer itself as well as the items that will be 3D printed.
Keeping the 3D printer clean is important because a dirty printer can lead to poor-quality prints. Debris can accumulate on the extruder and build up over time, which can cause problems with the flow of plastic. This, in turn, can lead to missed layers, crooked surfaces, and other printing errors. In addition, a dirty printer can be a breeding ground for bacteria and fungi, which can cause health problems if breathed in.
It is also essential to keep the 3D-printed items clean. This is because unclean items can lead to a variety of printing problems. Debris or grease from your hands can get caught in the print head or between the layers of the print, causing smudges or rough patches on the finished product. Dust and other particles can also create bumps or voids on the surface of the print. To prevent these problems, cleaning all 3D-printed items before you start printing is important.
– Start by wiping all surfaces with a microfiber cloth or alcohol wipes.
– Next, use a toothbrush or other small brush to clean out nooks and crannies.
– Finally, use a Q-tip dipped in isopropyl alcohol to clean the print head nozzle.
- Make sure you have enough filament to complete the project
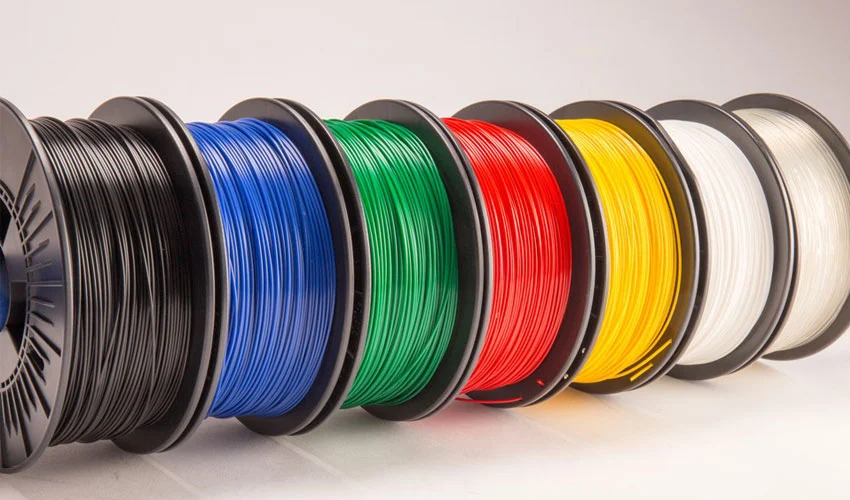
When you’re working on a project, it’s important to make sure you have enough filament to complete it. That’s why it’s a good idea to stock up on filament before you start your project.
You may also want to keep some extra filament on hand in case of emergencies. If you run out of filament partway through your project, you’ll have to stop work and order more, which can delay the finish date. So it’s always best to be prepared and have plenty of filament on hand. That way, you’ll be able to stay on track and finish your project on time.
- Design your product using a CAD program or online tool
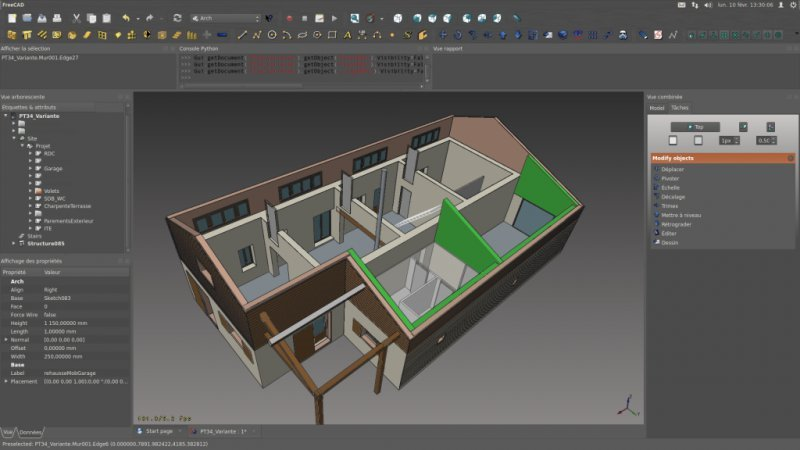
When designing a product for 3D printing, keep a few things in mind. First, since items are printed layer by layer, it is crucial to create a design that can be divided into easily printable sections. Additionally, avoid narrow or thin parts, which can be difficult or impossible to print correctly.
There are a lot of CAD software available that you can use to create your 3D models but we recommend using SelfCAD. SelfCAD is one of the easiest 3D modeling software available and powerful at the same time. You can use it to create both simple and complex 3D models. After creating your 3D models, you can use the online slicer of SelfCAD to prepare your 3D models for 3D printing. Get to know how to slice your designs in the video below.
- Print your product using the highest quality settings possible
When you’re printing something at home, it’s important to use the highest quality settings possible. This will ensure that the printout is as clear and sharp as possible, with no blurring or pixelation. You can often adjust the quality settings from your printer’s control panel. If you’re not sure how to do this, consult your printer’s instruction manual.
Use the correct type of paper for your printout. Heavier papers usually produce better results than lighter varieties. And if you’re printing a document with color graphics or photos, use paper specifically designed for inkjet printers. Using the wrong type of paper can result in blurred or streaky images.
So, before you start printing, make sure you adjust your printer’s quality settings and select the right type of paper. By doing so, you’ll ensure that your prints look great every time.
- Sand and polish any rough edges on the finished product
3D printing is a fantastic technology that has already revolutionized a variety of industries. 3D printers can create almost any object by laying down layer after layer of material until the object is complete.
This process allows for an astonishing level of detail and accuracy, and 3D printing is quickly becoming the go-to method for creating prototypes and final products. However, 3D printing is not perfect, and some items require extra work before they can be used.
3D-printed items often have rough edges that need to be sanded and polished. Fortunately, this process is relatively simple and can be done in just a few minutes. By taking the time to sand and polish 3D-printed items, you can ensure that they look their best and function perfectly.
- Package your product securely for shipping
Sending a product through the mail can be a risky proposition. If the package is not properly secured, it can easily be damaged in transit. In fact, according to the United States Postal Service, nearly one million packages are damaged in transit every year.
Fortunately, there are a few simple steps that you can take to ensure that your product arrives safely at its destination. The first step is to choose the right container. USPS offers a wide variety of shipping boxes and envelopes, all of which are designed to protect your product during transit.
Be sure to select a box or envelope that is big enough to hold your product without putting too much pressure on the seams. If you are using a box, fill any empty spaces with packing peanuts or bubble wrap to help cushion the product.
The second step is to secure the package. Most USPS boxes and envelopes come with built-in tape seals, which you can use to attach the lid or flap. If you use a different type of container, use plenty of strong tape to seal all openings.
Finally, be sure to write “FRAGILE” in large letters on the outside of the package. This will let the carrier know that the package requires special handling. By following these simple steps, you can help ensure that your product arrives safely at its destination.
Conclusion
That’s it! You are now ready to start your own 3D printing business.
Be sure to stock up on filament, clean your printer and all the parts in the finished product, and design your product using a CAD program or online tool. Then, print your product using the highest quality settings possible.
Finally, sand and polish any rough edges on the finished product before packaging it securely for shipping. If you have any questions or queries then please let us know – we would be happy to help you get started in this exciting new industry.